 Save to Pinterest
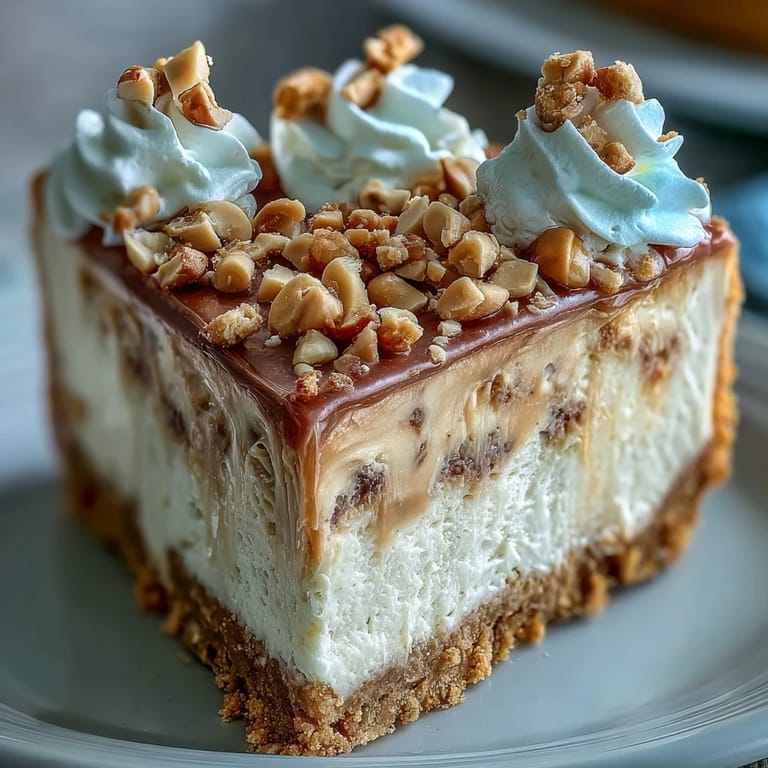
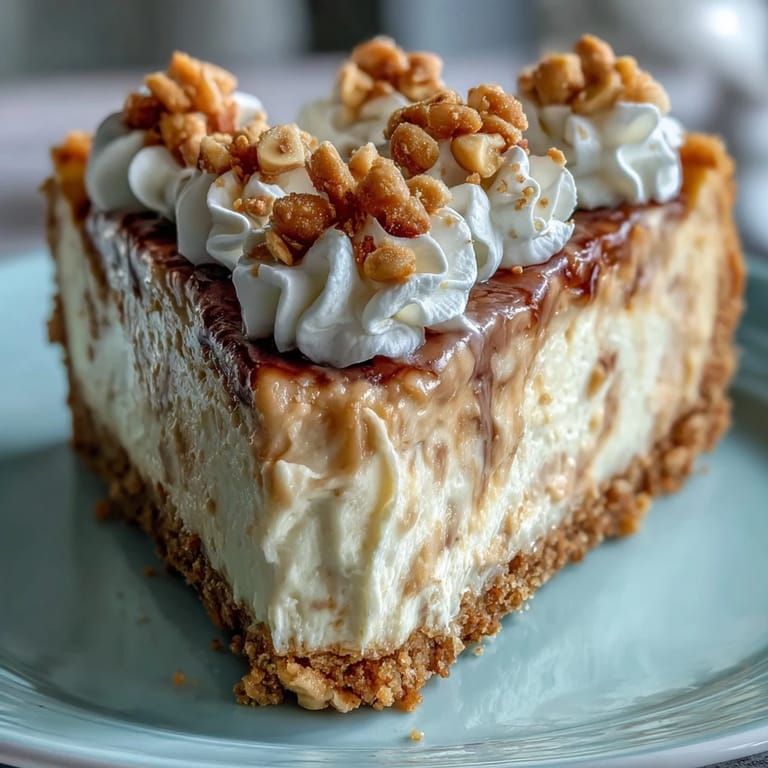
 My neighbor showed up one Saturday holding a plastic tub of Nutter Butters and asked if I could turn them into something spectacular for her book club. I had never baked with those cookies before, but something about their salty-sweet crunch made me think of cheesecake. By Sunday evening, I had a recipe that made her the hero of her group and me the unofficial dessert consultant of the neighborhood.
The first time I served this at a potluck, someone asked if I used a secret ingredient because the filling tasted richer than standard cheesecake. I laughed and told them it was just peanut butter, but really, the magic is in letting the cream cheese come to room temperature so it whips into something almost mousse-like. That tiny step made all the difference between dense and divine.
Ingredients
- Nutter Butter cookies: These form the crust and bring that iconic peanut butter sandwich cookie flavor; crush them fine but leave a few bigger bits for texture.
- Unsalted butter: Melted butter binds the crust together and adds richness without competing with the peanut flavor.
- Cream cheese: The heart of any cheesecake; make sure it is fully softened or you will end up with lumps no amount of mixing can fix.
- Granulated sugar: Sweetens the filling just enough to balance the tangy cream cheese and nutty peanut butter.
- Vanilla extract: A small pour that rounds out all the other flavors and keeps things from tasting one-note.
- Eggs: They set the cheesecake as it bakes, so add them gently and do not overbeat or you will bake in too much air.
- Creamy peanut butter: Go for a standard brand, not natural, because the oils in natural peanut butter can make the filling greasy.
- Heavy whipping cream: Whipped with powdered sugar, this becomes a cloud-like topping that feels indulgent but is easy to make.
- Powdered sugar: Sweetens and stabilizes the whipped cream without any grittiness.
- Chopped peanuts: Optional, but they add a salty crunch that makes each bite more interesting.
Tired of Takeout? 🥡
Get 10 meals you can make faster than delivery arrives. Seriously.
One email. No spam. Unsubscribe anytime.
Instructions
- Prep the pan:
- Preheat your oven to 325°F and grease a 9-inch springform pan, then line the bottom with parchment paper. This step prevents sticking and makes releasing the cheesecake so much easier later.
- Build the crust:
- Mix crushed Nutter Butter cookies with melted butter until the texture looks like wet sand. Press it firmly into the pan bottom using the back of a measuring cup, then bake for 10 minutes and let it cool completely.
- Whip the base:
- Beat softened cream cheese and granulated sugar with an electric mixer on medium speed until smooth and creamy, about 2 to 3 minutes. Scrape down the sides so everything blends evenly.
- Add the peanut layer:
- Mix in vanilla extract and peanut butter until fully incorporated and the batter looks uniform. The peanut butter should disappear into the cream cheese without streaks.
- Fold in the eggs:
- Add eggs one at a time on low speed, mixing just until combined after each addition. Overmixing here creates too much air, which leads to cracks during baking.
- Fill and smooth:
- Pour the cream cheese mixture over the cooled crust and smooth the top with a spatula. Tap the pan gently on the counter to release any air bubbles hiding in the batter.
- Bake low and slow:
- Bake for 50 to 60 minutes until the edges are set but the center still has a slight jiggle. The residual heat will finish cooking it as it cools.
- Cool in the oven:
- Turn off the oven, crack the door, and let the cheesecake cool inside for 1 hour. This gradual temperature change prevents the top from cracking.
- Chill completely:
- Remove from the oven and refrigerate at least 4 hours, or overnight for the best texture and flavor. Patience here is everything.
- Whip the topping:
- Before serving, whip heavy cream with powdered sugar until stiff peaks form. Spread it generously over the chilled cheesecake for that final luxurious layer.
- Garnish and serve:
- Sprinkle chopped peanuts and tuck a few extra Nutter Butter cookies around the edge. Slice with a warm, clean knife for perfect portions every time.
 Save to Pinterest
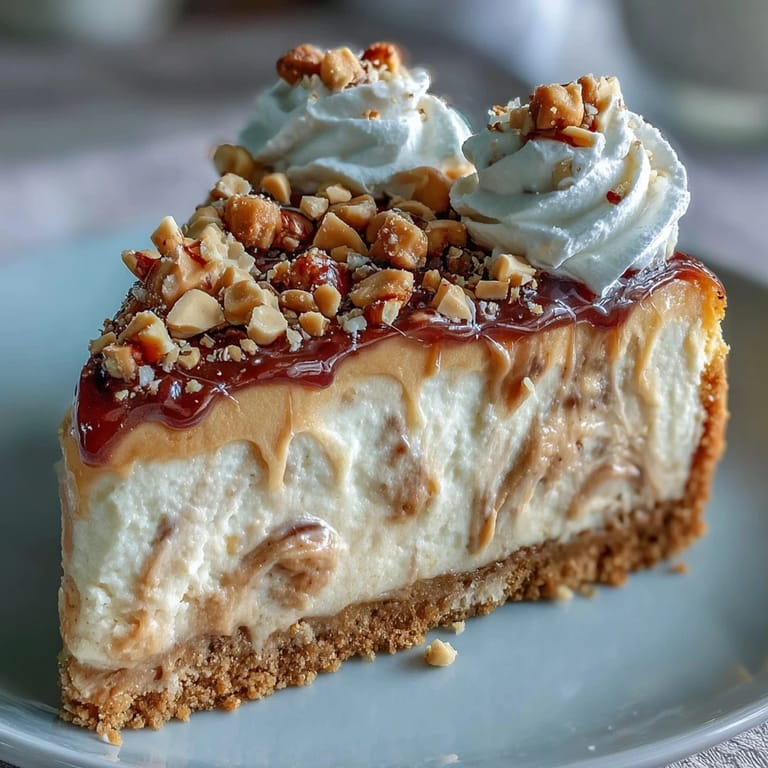
 One evening, my son came home from college and saw this cheesecake in the fridge. He ate two slices standing at the counter, then asked if I could teach him how to make it before he went back to his apartment. We spent the next afternoon baking together, and now he texts me photos every time he makes it for his friends.
Storing and Making Ahead
This cheesecake actually improves after a night in the fridge because the flavors meld and the texture firms up beautifully. You can bake it up to two days ahead, keep it covered tightly with plastic wrap, and add the whipped topping just before serving. If you want to freeze it, wrap the whole cheesecake (without topping) in two layers of plastic wrap and one layer of foil, then freeze for up to a month and thaw overnight in the fridge.
Serving Suggestions
I love serving this with a drizzle of warm chocolate ganache or salted caramel sauce for anyone who wants an extra layer of indulgence. A small scoop of vanilla ice cream on the side turns it into a full dessert plate, and fresh strawberries add a bright contrast to all that richness. For parties, I slice it into smaller wedges so people can try it alongside other sweets without feeling too full.
Troubleshooting and Variations
If your cheesecake cracks, do not panic; the whipped cream topping hides everything beautifully. For a deeper peanut butter flavor, swirl an extra tablespoon of peanut butter into the batter right before baking, creating ribbons throughout. You can also swap the Nutter Butters for graham crackers and add a few tablespoons of peanut butter to the crust if you cannot find the cookies.
- Use a water bath by wrapping the springform pan in foil and placing it in a larger pan with an inch of hot water for ultra-creamy results.
- Try crunchy peanut butter in the filling for added texture, but reduce the chopped peanut garnish so it does not get too busy.
- Add a teaspoon of instant espresso powder to the filling to deepen the flavor and balance the sweetness.
 Save to Pinterest
 This cheesecake has become my go-to when I want to impress without stress, because it is forgiving, make-ahead friendly, and always disappears fast. I hope it becomes one of those recipes you pull out again and again, tweaking it to make it your own.
Recipe FAQs
- → How long should I refrigerate the cheesecake before serving?
Refrigerate the cheesecake for at least 4 hours, though overnight chilling yields the best texture and flavor. This allows the filling to set completely and the flavors to meld together beautifully.
- → Can I make this cheesecake in advance?
Absolutely! Making this dessert a day ahead actually enhances the flavor. The cheesecake keeps well in the refrigerator for up to 5 days, though it's best enjoyed within 2-3 days for optimal texture.
- → Why did my cheesecake crack?
Cracking usually occurs from over-mixing the eggs or cooling too quickly. Using a water bath during baking and letting the cheesecake cool gradually in the oven with the door cracked helps prevent unsightly cracks.
- → Can I use natural peanut butter instead of creamy?
Creamy commercial peanut butter works best as it provides consistent texture. Natural peanut butter with oil separation may affect the final consistency and could make the filling less stable.
- → What's the best way to get clean slices?
Dip a sharp knife in hot water and wipe it clean between each slice. Run the knife under warm water, dry thoroughly, then slice through the chilled cheesecake for perfect portions.