 Save to Pinterest
 The first time I baked these Strawberry Rhubarb Crumble Bars, a breeze swept in through the open kitchen window, carrying hints of freshly cut grass and distant laughter from the park. The colors of ripe strawberries and rosy rhubarb sliced on the cutting board felt like a celebration of spring itself. I remember the gentle sizzle when melted butter hit the oats, filling the kitchen with warmth and coziness. Sometimes, it’s the simple act of stacking layers and the anticipation of sweet-tart fruit bubbling in the oven that brightens an ordinary afternoon. Honestly, I started making these for company but found myself whipping up a batch just because the season whispered for it.
One Saturday, my neighbor dropped by after spotting the baking pan on the counter. We spent half an hour chatting about childhood summers as we each nibbled a still-warm bar, crumbs tumbling everywhere. Sharing them sparked a spontaneous conversation as comforting as the dessert itself. It’s that kind of treat—the kind that draws people in and makes the table a little livelier.
Ingredients
- All-purpose flour: Gives the crumble structure; I once tried half whole wheat and found it a bit too hearty, so stick with regular here if you want a delicate base.
- Rolled oats: They create a rustic, satisfyingly chewy texture; don’t use instant oats, as they tend to vanish into the mix.
- Granulated sugar: Sweetens both the base and the filling—taste the berries first to see if you want a little less or more.
- Light brown sugar: Adds a caramel touch to the crumble; I always pack it in firmly for proper sweetness and stickiness.
- Salt: Just a pinch brings everything together—you really notice the difference in the finished bars.
- Ground cinnamon: Just enough to hint at spice; it amplifies the fruitiness rather than overshadowing it.
- Unsalted butter (melted): Melting the butter coats the oats with richness—don’t skip the step where you press it in firmly.
- Fresh strawberries (hulled and diced): Ripe but not mushy berries work best; if yours are huge, halve them again for even pieces.
- Fresh rhubarb (diced): The brighter, the better—trimmed ends and tough outer strings make all the difference.
- Cornstarch: Thickens the fruit as it bakes, so you get neat bars instead of gooey messes; whisk it into the sugar to avoid lumps.
- Vanilla extract: Just a dash softens the sharp edges of the fruit; I once skipped it and missed a little roundness in the flavor.
- Lemon juice: Wakes up the fruitiness and balances sweet with tang; squeeze it fresh if you can.
Tired of Takeout? 🥡
Get 10 meals you can make faster than delivery arrives. Seriously.
One email. No spam. Unsubscribe anytime.
Instructions
- Prep the Pan:
- Line your baking pan with parchment paper, making sure a bit hangs over the edges to help you lift the bars out later.
- Mix the Crumble:
- In a big bowl, toss together the flour, oats, both sugars, salt, and cinnamon; when you pour in that melted butter, stir until everything feels like slightly damp sand.
- Shape the Base:
- Set aside some of the crumble for the topping, then use your fingertips or the back of a spoon to press the rest firmly and evenly into the pan.
- Prepare the Filling:
- Combine the strawberries, rhubarb, sugar, cornstarch, vanilla, and lemon juice; things will get juicy fast, so make sure it’s well coated but not soggy.
- Assemble:
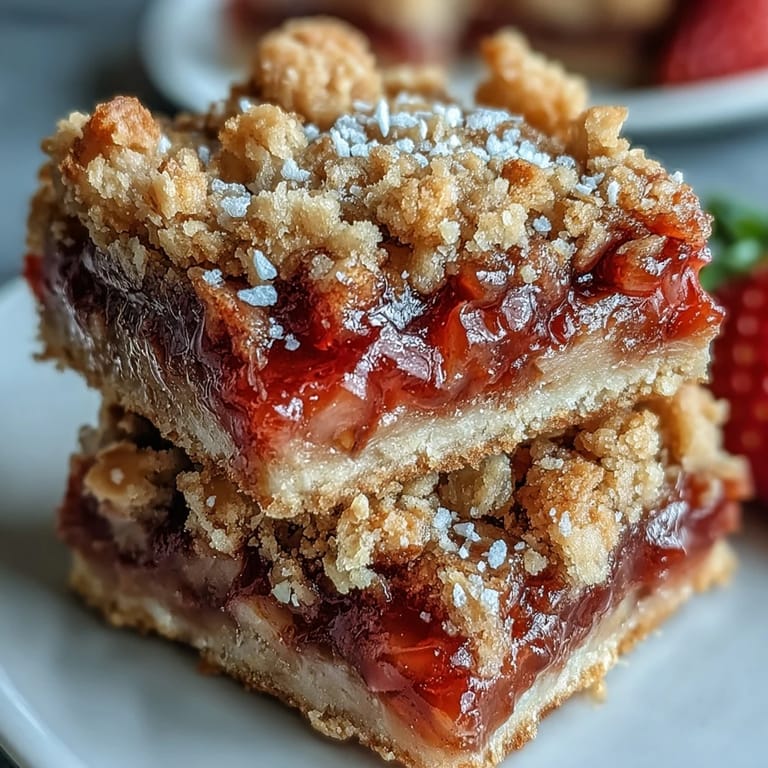
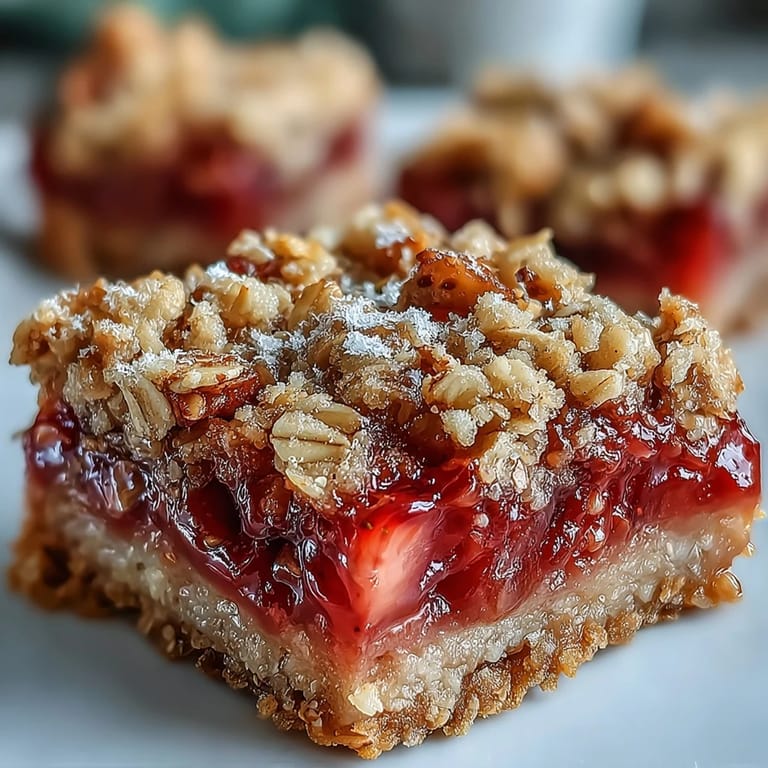
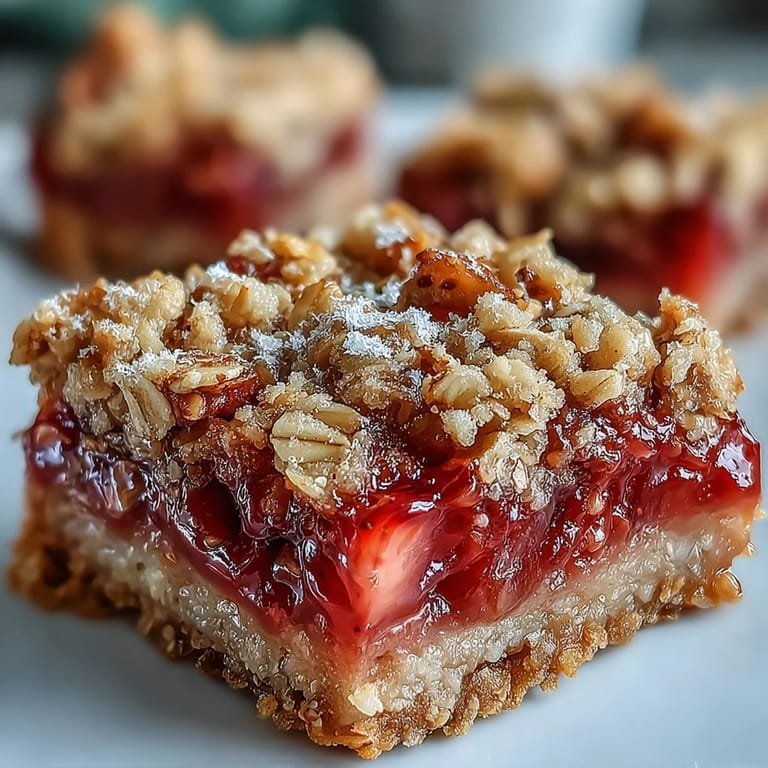
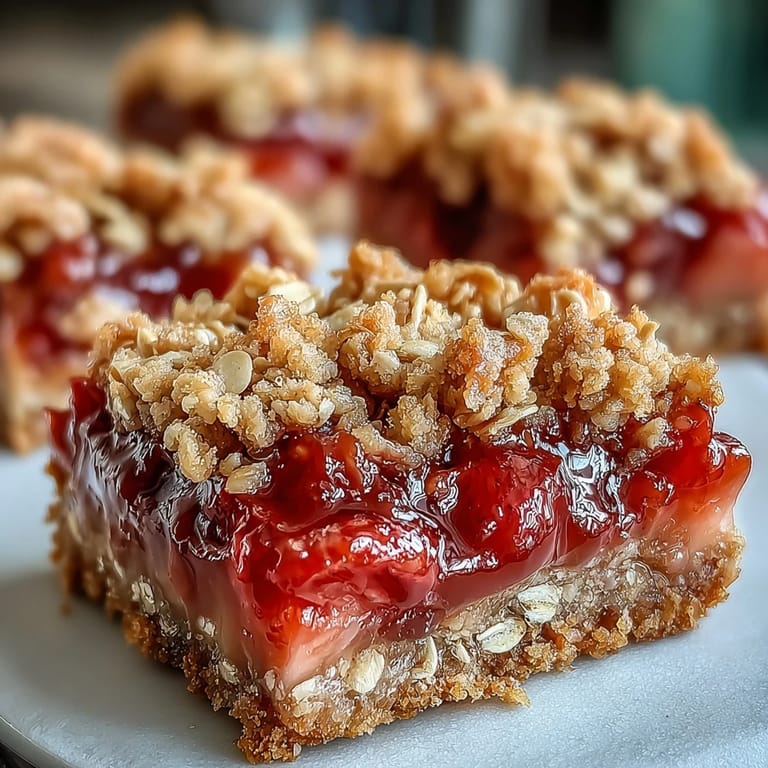
- Layer the glossy fruit mixture over the base, then scatter the reserved crumble over the top for a lumpy, inviting finish.
- Bake:
- Slide the pan into the oven and bake until the top turns crisp and golden and the fruit bubbles up around the edges—it’s a good sign when the smell drifts into nearby rooms.
- Cool and Slice:
- Patience pays off; let the bars cool completely in the pan before grabbing the parchment and cutting squares, so they hold together perfectly.
 Save to Pinterest
  Save to Pinterest
 I’ll never forget the look on my son’s face when he tried these for the first time—he thought rhubarb was just a funny word. The surprise delight at the sweet-tart filling convinced him that some things taste way more magical than they sound.
Swaps and Simple Variations
If you’re feeling adventurous or just short on ingredients, swap in raspberries or blueberries for half the fruit—either way, the bars always disappear fast. I’ve even used frozen fruit in winter (tossed with an extra half-tablespoon of cornstarch) and been rewarded with jammy, vibrant layers. Sometimes, a sprinkle of sliced almonds on top before baking adds an extra crunch that’s irresistible.
Serving and Storing Tips
Leftovers, if you have them, keep beautifully—either on the counter for a couple of days or in the fridge for up to a week. They taste great cold, but I like to zap mine in the microwave for a few seconds to revive that just-baked aroma. Don’t hesitate to pair them with a little whipped cream or even a scoop of vanilla ice cream for an easy dessert upgrade.
Little Surprises Along the Way
Every time I make these, I notice how the crumble’s aroma fills the house before the timer even buzzes. One batch, I forgot the parchment paper, and wrangling the bars out was a sticky adventure—never again. I also learned that letting the kids help sprinkle the topping means inevitably uneven but somehow even more charming results.
- Use parchment paper for stress-free removal.
- If you like extra crunch, toast your oats for a few minutes before mixing.
- Always let the bars cool fully before slicing so they hold their shape.
 Save to Pinterest
  Save to Pinterest
 I hope these Strawberry Rhubarb Crumble Bars bring as much color and conversation to your kitchen as they have to mine. Sometimes, the best bites are the ones that come with a little laughter spilled across the table.
Recipe FAQs
- → How do I prevent a soggy filling?
Use the cornstarch to thicken the fruit juices, dice fruit evenly, and avoid excess liquid by gently patting very juicy berries. Bake until the filling bubbles and the top is golden, then cool completely to set the layers.
- → Can I use frozen strawberries or rhubarb?
Yes. Thaw and drain excess liquid, then increase the cornstarch slightly to compensate for extra moisture. You may need a few extra minutes of bake time so the filling can bubble and thicken.
- → How can I make these bars gluten-free?
Swap in certified gluten-free rolled oats and a 1:1 gluten-free flour blend for the all-purpose flour. Press the base firmly and monitor texture; some blends absorb more butter and may need a touch more fat.
- → What's the best way to store and reheat the bars?
Store in an airtight container at room temperature up to 2 days, or refrigerate up to 1 week. For a warm serving, reheat individual bars briefly in a low oven or microwave until just warmed through.
- → How can I tell when the bars are done baking?
The top should be golden brown and the fruit filling should be visibly bubbling in the center. Edges may pull slightly from the pan; if the center still looks wet, give it a few more minutes.
- → Any tips for cutting clean, neat bars?
Allow the pan to cool completely, then chill for firmer slices. Use the parchment overhang to lift the slab out, and slice with a sharp knife cleaned between cuts or warm the blade slightly for cleaner edges.