 Save to Pinterest
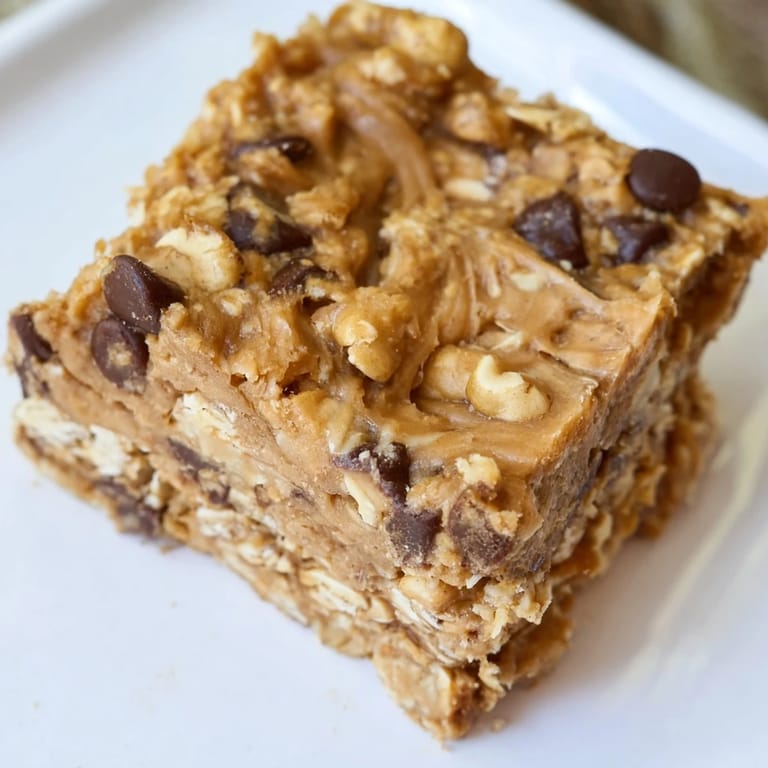
 I discovered these bars on a chaotic Tuesday morning when I was frantically packing my gym bag and realized I'd forgotten to meal prep. Grabbing what I could find—ripe bananas going soft on the counter, a jar of peanut butter, honey—I threw together something in my kitchen and didn't expect much. But when I tasted that first chewy bite an hour later, something clicked: this was exactly the kind of snack I'd been searching for, no oven required.
I made these for my sister during her stressful exam period, and she texted me from the library saying they were the only reason she made it through her study sessions without reaching for vending machine junk. Now whenever she visits, the first thing she asks is whether I've made a fresh batch.
Ingredients
- Ripe bananas: Look for ones with brown speckles—they're sweeter and mash more easily, and their natural moisture is what binds everything together without needing eggs or butter.
- Creamy peanut butter: The kind that's just peanuts and maybe a pinch of salt; natural versions work beautifully if you stir them first.
- Honey or maple syrup: Both add subtle sweetness and help hold the bars together, though maple syrup gives a deeper flavor if you prefer it.
- Vanilla extract: Just a teaspoon, but it brightens everything and makes people wonder what your secret ingredient is.
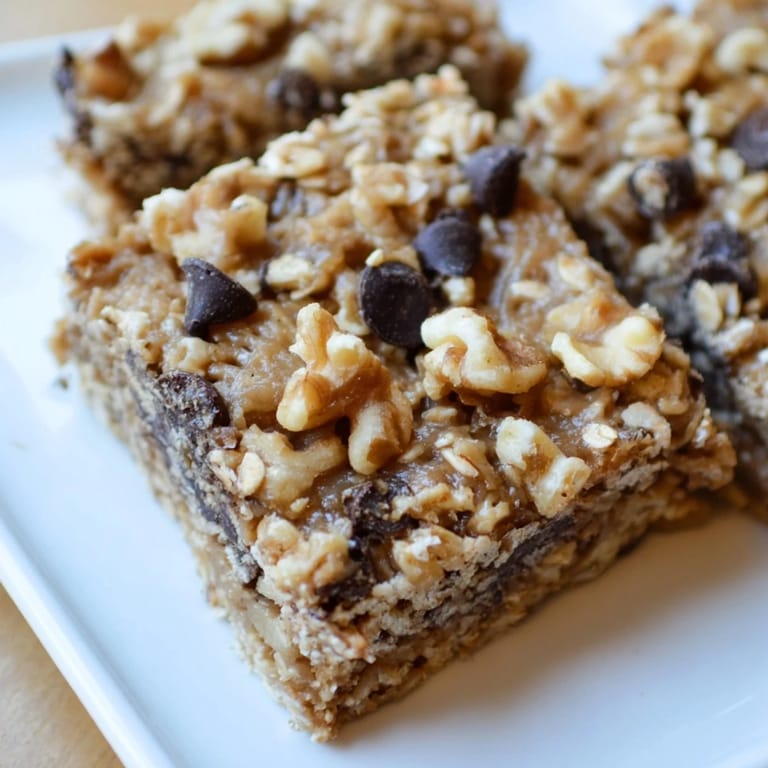
- Old-fashioned rolled oats: They have more texture and personality than quick oats; they're what give these bars their chewy, satisfying bite.
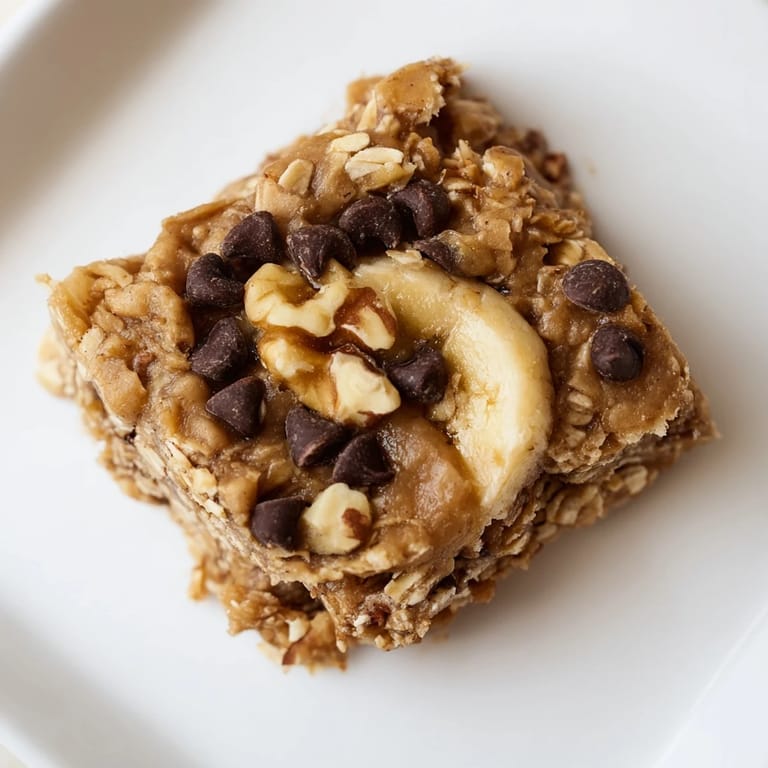
- Walnuts or pecans: Optional, but they add a gentle crunch and richness that makes these feel more intentional.
- Mini chocolate chips: Also optional, but they melt slightly from the warmth of the mixture and create little pockets of sweetness.
- Salt and cinnamon: These seem small, but they're what make it taste like something you'd actually buy in a bakery instead of just mashed banana.
Tired of Takeout? 🥡
Get 10 meals you can make faster than delivery arrives. Seriously.
One email. No spam. Unsubscribe anytime.
Instructions
- Set up your pan and gather everything:
- Line an 8x8-inch pan with parchment paper, letting it hang over the edges—this is your built-in handle for lifting the whole slab out later without crumbling.
- Mash those bananas smooth:
- In a large bowl, mash the bananas with a fork or masher until they're nearly paste-like with just tiny flecks. You're creating the binder here, so break them down more than you think you need to.
- Stir in the wet ingredients:
- Add the peanut butter, honey, and vanilla to the bananas and stir until you can't see any streaks of peanut butter anymore—this takes more stirring than you'd expect because peanut butter is stubborn.
- Mix in the dry ingredients:
- Add the oats, salt, cinnamon, and any mix-ins, stirring until every oat is coated and the mixture looks uniform and chunky but cohesive.
- Press it into the pan:
- Transfer everything into your prepared pan and use the back of a spoon or a spatula to press it down firmly and evenly, filling all the corners and creating an even thickness throughout.
- Chill until it's set:
- Pop the pan into the fridge for at least an hour—this is when the magic happens and everything firms up enough to slice cleanly without crumbling apart.
- Slice and store:
- Lift the whole slab out using the parchment overhang, place it on a cutting board, and use a sharp knife to cut it into 12 bars, wiping your knife between cuts if the mixture sticks. Store them in an airtight container in the fridge for up to a week.
 Save to Pinterest
 There's something almost meditative about making these bars—the way the peanut butter gradually loosens into the mashed banana, how the oats soak up all that moisture and transform from dry grains into something almost dough-like. I've made them enough times now that I can do it without thinking, and there's comfort in that.
Why These Bars Win
The magic of no-bake snacks is that you're not fighting your oven for counter space or waiting for something to cool. These bars come together in 10 minutes of actual work, then the fridge does the heavy lifting while you go about your day. Plus, there's something satisfying about eating something that tastes so much like a treat but is basically just fruit, nuts, and oats.
Make Them Your Own
While the base recipe is perfect as-is, I've experimented with endless variations over time. I've added dried cranberries for a tart note, swapped in almond butter for peanut butter, even drizzled melted dark chocolate on top before chilling for a fancier version. The beauty of these bars is that they're forgiving—as long as you keep the ratio of bananas to oats roughly similar, you have room to play.
Storage and Traveling
These bars are portable champions, which is why I love them for busy seasons. Individually wrapped in parchment or plastic wrap, they're the perfect grab-and-go snack for hiking trips, office days, or road adventures. I've even kept them in my car during autumn hikes and appreciated how they held up, though the fridge is definitely their happy home for maximum freshness and that perfect chewy texture.
- Wrap bars individually in parchment paper if you're packing them for travel so they don't stick together.
- They keep in the fridge for a full week and can be frozen for up to a month if you want to make a double batch and save some for later.
- Let frozen bars thaw for about 15 minutes before eating so they regain that chewy texture you love.
 Save to Pinterest
 These bars have become my go-to snack for those moments when you need something real and nourishing without the fuss. They're proof that the simplest recipes, made with attention and a little creativity, are sometimes exactly what you need.
Recipe FAQs
- → Can I use a different nut butter?
Yes, almond or sunflower seed butter works well as alternatives to peanut butter to vary flavor and suit dietary preferences.
- → How should I store the bars?
Keep them in an airtight container in the refrigerator for up to one week to maintain freshness and firmness.
- → Are there vegan options for sweeteners?
Maple syrup is a great vegan substitute for honey to keep the bars plant-based and naturally sweet.
- → Can I add dried fruit?
Yes, dried cranberries or raisins can be stirred into the mixture for extra flavor and chewiness.
- → Is baking necessary for these bars?
No baking is required. The mixture is chilled until firm, creating a chewy texture without heat.