 Save to Pinterest
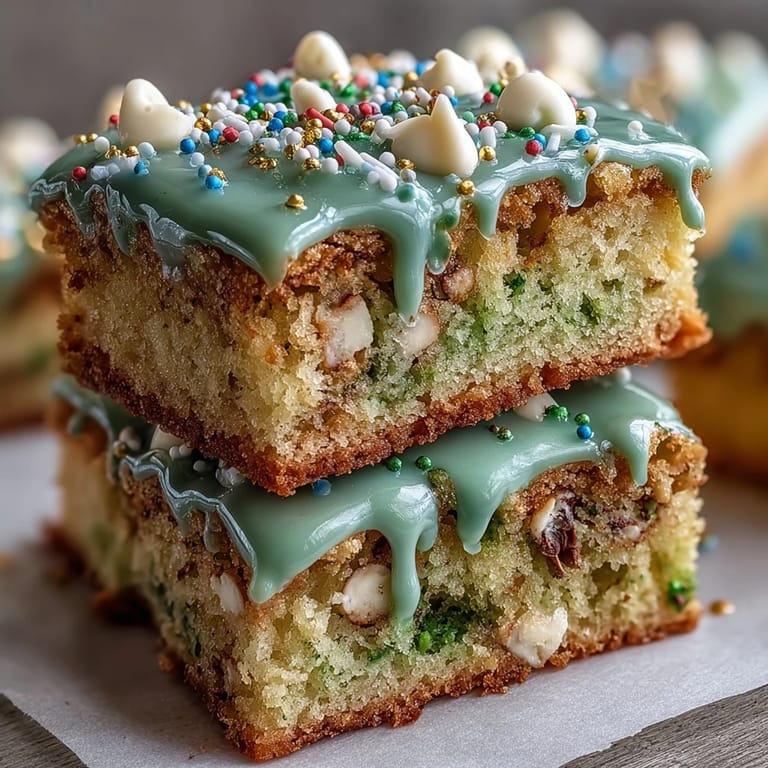
 My kitchen smelled like melted butter and pure joy the afternoon a friend texted asking what I was bringing to the St. Patrick's Day potluck. I had exactly zero ideas, so I started grabbing ingredients almost at random—then spotted a bag of rainbow sprinkles hiding in the pantry. Within an hour, these bars were cooling on the rack, catching the afternoon light like edible stained glass. They disappeared before the party even officially started, and I've been making them ever since.
Last March my nephew stood on a stool beside me, carefully sprinkling those rainbow colors across the batter. He took the job so seriously, narrating each sprinkle placement like he was conducting an orchestra. When we pulled them out of the oven and he saw how the colors held through baking, his face just lit up—suddenly these weren't just cookies, they were magic he'd helped create.
Ingredients
- All-purpose flour (2 cups): The foundation that keeps these bars tender rather than cakey; measure by spooning and leveling rather than scooping straight from the bag.
- Baking powder (1/2 teaspoon): Just enough lift to make the texture cloud-like without making them rise unevenly.
- Salt (1/4 teaspoon): The tiny whisper that makes the sweetness sing brighter than you'd expect.
- Unsalted butter, melted and cooled (3/4 cup): The hero ingredient that creates that buttery, tender crumb; cooling it slightly prevents cooking the eggs when you fold it in.
- Granulated and brown sugar (1 cup plus 1/2 cup): The combo of both sugars gives depth—granulated for structure, brown for that subtle caramel note underneath.
- Eggs (2 large): Bind everything together while keeping the bars from being dense or dry.
- Vanilla extract (2 teaspoons): Don't skip this or use the imitation stuff; it rounds out the whole flavor profile in ways people can't quite name.
- White chocolate chips (3/4 cup): They soften slightly when warm and create little pockets of sweetness throughout each bite.
- Rainbow sprinkles (1/2 cup divided): Half folded in adds bursts of color inside; the rest scattered on top ensures every piece feels festive.
Tired of Takeout? 🥡
Get 10 meals you can make faster than delivery arrives. Seriously.
One email. No spam. Unsubscribe anytime.
Instructions
- Set your stage:
- Preheat the oven to 350°F and line your 9x9-inch pan with parchment paper, letting the edges overhang so you can lift the whole thing out later. This step takes thirty seconds but saves you from standing there with a hot pan trying to coax bars out without them breaking.
- Whisk the dry team:
- In a medium bowl, combine flour, baking powder, and salt, then set it aside without overthinking it. You're just making sure the leavening distributes evenly through the flour.
- Build the wet base:
- Whisk your cooled melted butter with both sugars until smooth and slightly pale, then add your eggs one at a time, whisking each one in completely before adding the next. Add the vanilla, whisk again, and you'll notice the mixture transform into something luxuriously smooth.
- Bring them together:
- This is where patience matters—use a spatula to gently fold the dry ingredients into the wet ones, stirring just until you don't see streaks of flour anymore. Overmixing makes the bars tough, so stop as soon as everything is combined.
- Fold in the fun:
- Stir in the white chocolate chips and about a third of your rainbow sprinkles, distributing them as evenly as you can manage with a few gentle folds.
- Into the pan:
- Pour the batter into your prepared pan and smooth it into an even layer using a spatula or the back of a spoon. Sprinkle the remaining sprinkles across the top, pressing them down ever so slightly so they don't all shake off when you pull the pan out.
- Bake:
- Pop it into the oven for 25 to 28 minutes, until the edges are golden and a toothpick inserted in the center comes out mostly clean with maybe a few moist crumbs clinging to it. That little bit of moisture is your friend—it means the bars will stay tender as they cool.
- Cool and cut:
- Let them cool completely in the pan on a wire rack, which takes patience but ensures they'll hold together when you cut them. Once fully cooled, use the parchment overhang to lift them out, then slice into sixteen bars and watch them glimmer with all those colors.
 Save to Pinterest
 There's something unexpectedly moving about a dessert that's purely celebratory with no apologies. These bars exist just to be joyful and bright, and they do that job beautifully, turning a regular Thursday afternoon kitchen into something festive and full of color.
The White Chocolate Advantage
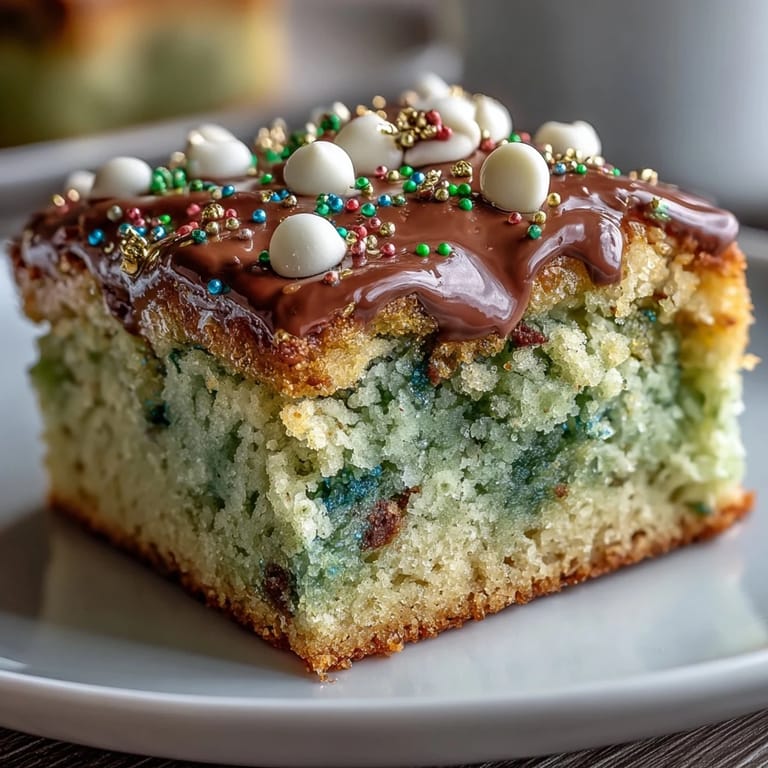
White chocolate chips soften into tender little pockets of sweetness rather than holding their shape like darker chocolates do. This means every bar has moments where you hit a melty surprise, and that texture contrast is what makes these feel special rather than ordinary. If you can't find white chocolate chips or prefer something different, semisweet or milk chocolate work just fine, though the flavor profile shifts from purely festive to more traditionally chocolatey.
The Sprinkle Science
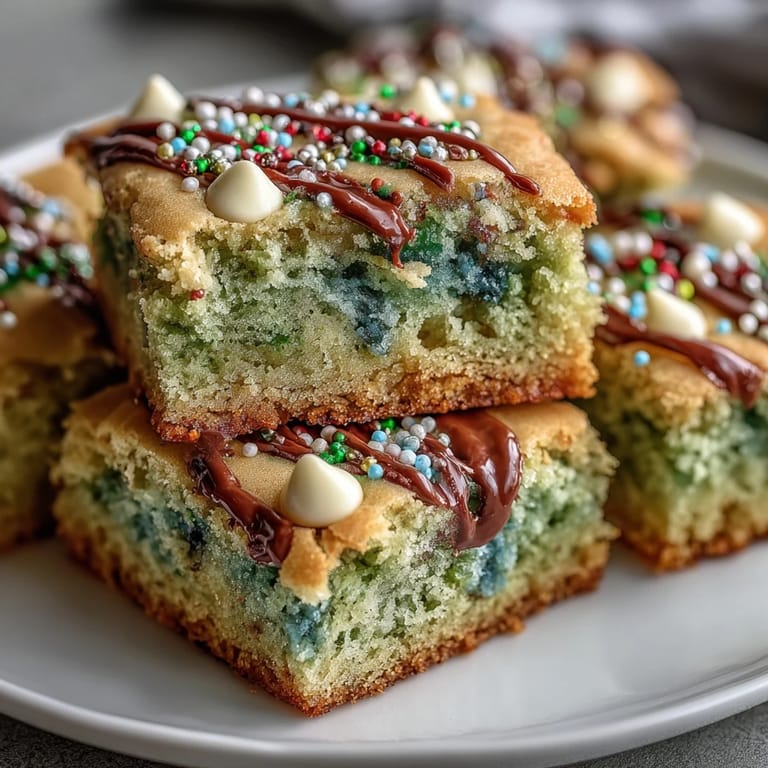
Rainbow sprinkles hold their color beautifully when baked, unlike some candies that melt or bleed. Folding half of them into the batter creates surprise pockets of color and flavor inside, while scattering the rest on top ensures that every single bar looks intentionally festive. The sprinkles also add a tiny bit of texture—almost imperceptible, but it's there, breaking up the pure softness of the bars.
Storage, Serving, and Making These Your Own
These bars taste best within three to four days of baking, stored in an airtight container at room temperature where they stay wonderfully soft and tender. They travel well, stack neatly in lunch boxes, and hold up beautifully on a dessert table. Beyond St. Patrick's Day, these work for any celebration where you want something simple, buttery, and undeniably cheerful.
- For extra indulgence, drizzle melted white chocolate across the cooled bars or scatter small shamrock candies on top before serving.
- If you're feeling fancy, add a pinch of almond extract alongside the vanilla for a subtly sophisticated flavor that nobody will be able to name.
- These freeze well for up to two weeks wrapped individually, so bake ahead if you're planning a party.
 Save to Pinterest
 These bars turned a spontaneous idea into something I make whenever I want to turn an ordinary moment into something worth celebrating. They're proof that the best recipes don't need to be complicated.
Recipe FAQs
- → What is the best pan size for baking these bars?
A 9x9-inch baking pan lined with parchment paper works best to ensure even cooking and easy removal.
- → Can I substitute the white chocolate chips with another type of chocolate?
Yes, you can swap white chocolate chips for semisweet or milk chocolate chips based on your preference.
- → How should I store the bars to maintain freshness?
Store the bars in an airtight container at room temperature for up to 4 days to keep them soft and flavorful.
- → Are there any allergens in this dessert?
These bars contain wheat (gluten), eggs, and milk from butter and white chocolate chips. Check sprinkles for potential soy or nut traces.
- → Can these bars be decorated for extra festivity?
Yes, you can drizzle melted white chocolate or use small shamrock candies to enhance the festive presentation.