 Save to Pinterest
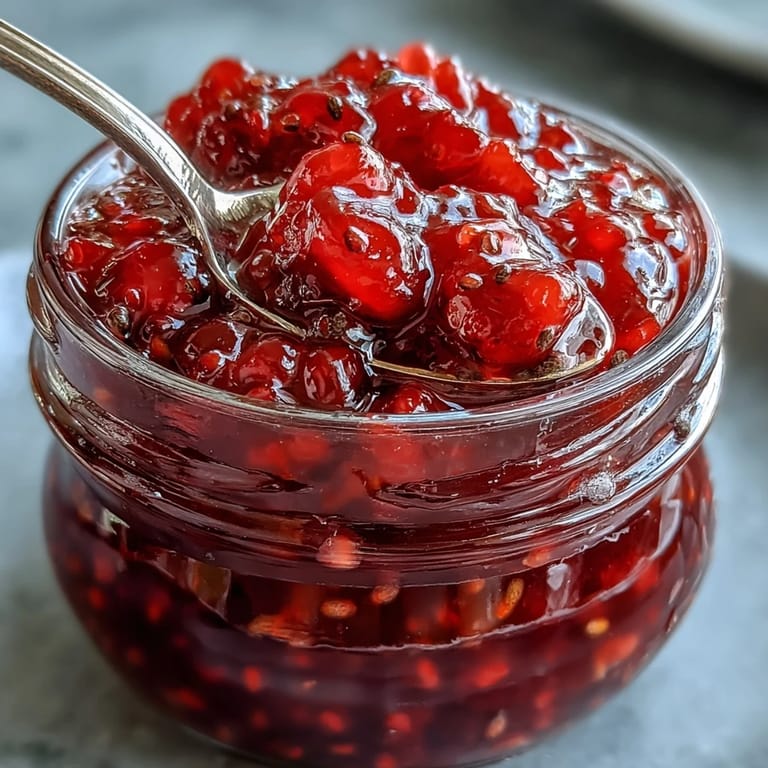
 The kitchen was filled with the tangy scent of raspberries and a zing of lemon when I tried making a jam without the usual mountain of sugar or a long oven session. I was curious if chia seeds could work their magic in transforming a saucepan of fruit into something thick enough to swirl on yogurt or spread over warm toast. That first batch came together so quickly that I almost didn’t trust it until I saw how jammy it became within minutes. Sometimes, the humming from the stove and a handful of simple ingredients are all you really need. The surprise was how bright and lively the flavors stayed, making this jam a staple far beyond breakfast.
One Sunday, a friend stopped by unannounced with a loaf of homemade sourdough, and I whipped up a batch of this jam while we chatted at the counter. We watched it bubble and thicken in real time, marveling at how little fuss it took to make something so vibrant and fresh. She left with half the jar, promising to never buy the supermarket stuff again. The memory of our impromptu taste test still makes me smile. Sometimes, a shared snack feels like a minor miracle.
Ingredients
- Fresh or Frozen Raspberries: Use whichever you have—frozen berries work just as well and break down quickly while cooking.
- Maple Syrup or Honey: Maple syrup keeps things vegan and lends a gentle richness; add a bit extra if your berries are especially tart.
- Lemon Zest: For the brightest flavor, zest only the yellow part, never the bitter white underneath.
- Lemon Juice: Freshly squeezed makes all the difference, and you can tweak the amount for more zing.
- Chia Seeds: The key to thickening this jam naturally—just two spoonfuls make it spreadable and add a gentle crunch.
Tired of Takeout? 🥡
Get 10 meals you can make faster than delivery arrives. Seriously.
One email. No spam. Unsubscribe anytime.
Instructions
- Simmer the Berries:
- Tumble the raspberries and your choice of sweetener into a small saucepan and cook over medium heat, stirring as the fruit softens and releases its juices.
- Mash and Taste:
- Use a fork or potato masher to break up the fruit until it’s as chunky or smooth as you like, inhaling the sweet, steamy aroma.
- Add Lemon and Chia:
- Remove from heat, then stir in the grated lemon zest, bright juice, and chia seeds till everything looks glossy and well mixed.
- Let It Thicken:
- Let the jam rest for five minutes—the chia will plump up and turn everything jammy right before your eyes.
- Final Adjustments:
- Taste and add more sweetener or lemon if needed, then spoon the jam into a clean jar and leave to cool before sealing and refrigerating.
 Save to Pinterest
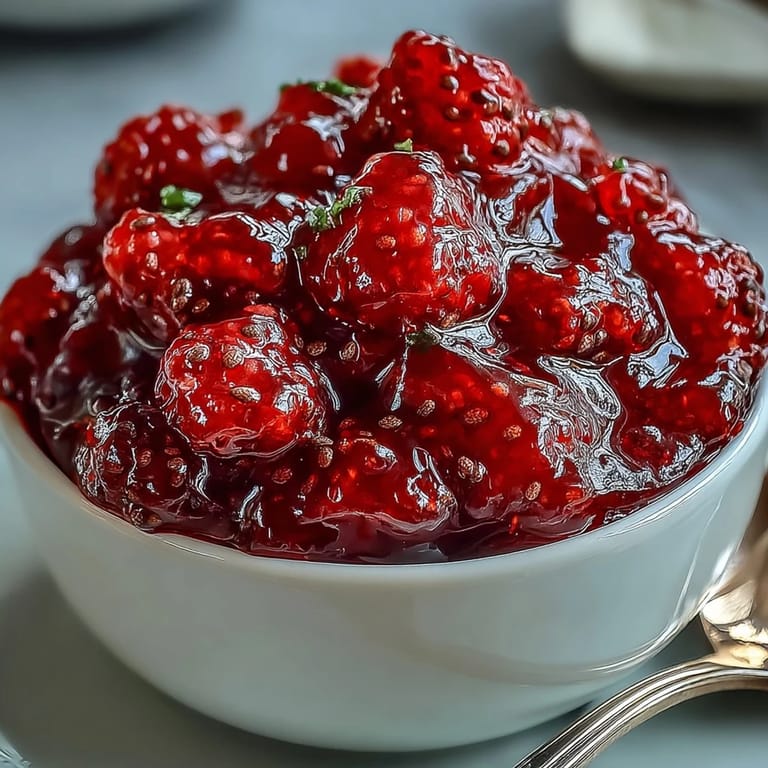
 I remember swirling this jam through vanilla yogurt on a gray morning, and suddenly breakfast felt a little brighter. It wasn’t just the color—it was the small act of making something special with my own hands, turning a regular day into something memorable.
Best Ways to Serve This Jam
With its punchy, fresh flavor, this jam begs to be the star, not just an afterthought. Pile it on sourdough toast, dollop over warm pancakes, or layer it into a parfait with granola. Even a spoonful alongside sharp cheese can turn a midday snack into something exciting. My latest favorite is stirring it into oatmeal for a burst of tart-sweetness.
Simple Swaps and Customizations
If you’re out of raspberries, try blackberries or sliced strawberries—they soften beautifully and bring their own character. A touch of vanilla extract or a pinch of cinnamon can change the mood entirely. Swapping honey for maple syrup gives a different kind of depth, and I sometimes add a few torn mint leaves for a warming twist. Homemade jam always invites experimentation—the batches never taste quite the same, and that’s half the fun!
Storing and Gifting Your Jam
This jam keeps in the fridge for up to a week, staying thick and bright. Pack it into a cute jar with a handwritten label for a sweet, homemade gift—the kind of gesture neighbors or friends rave about.
- Always use a clean, dry jar to prevent early spoilage.
- Chia seeds continue to absorb liquid over time, so the jam may get thicker after a day or two.
- If you want a smoother texture, blend the berries before adding chia seeds.
 Save to Pinterest
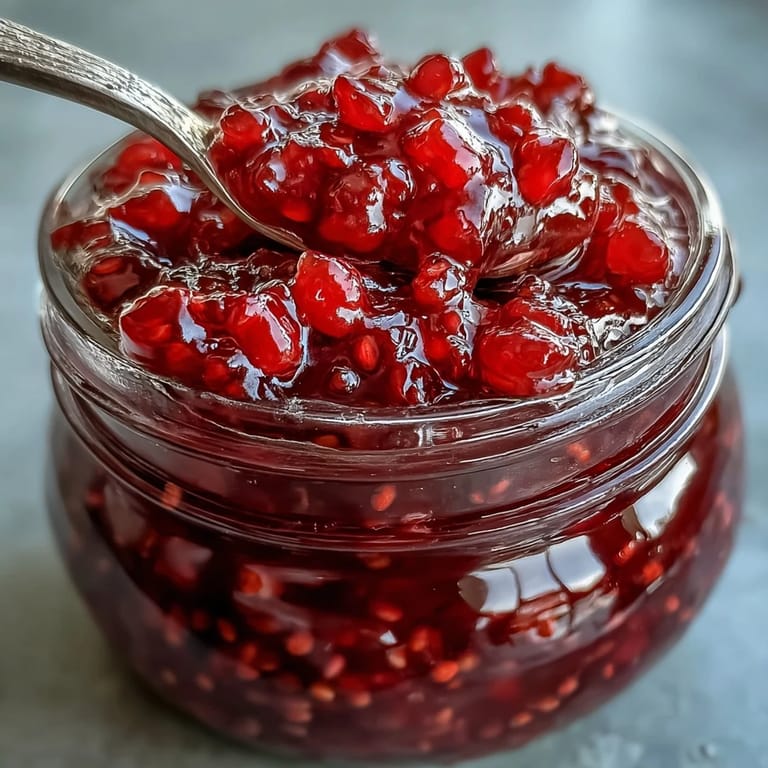
 Whether you’re dolloping this onto your breakfast or sharing it with a friend, a jar of homemade jam is pure joy in a spoon. Here’s to simple recipes that make everyday food feel special.
Recipe FAQs
- → How can I make the jam smoother?
For a silky texture, blend the cooked raspberries before adding the chia seeds, then stir in lemon and let the mixture rest to thicken. Straining seeds through a fine mesh gives an even smoother finish.
- → Can I use frozen raspberries?
Yes. Use frozen berries straight from the freezer and cook a bit longer until they break down and become syrupy. Adjust cooking time by a few minutes as needed.
- → How do I adjust the sweetness and acidity?
Taste after adding lemon and chia. Increase maple syrup or honey a tablespoon at a time for more sweetness, or add a touch more lemon juice or zest to brighten the flavor.
- → What if the spread is too thin?
Stir in an extra half to one tablespoon of chia seeds and let it sit for 10–15 minutes to thicken. Alternatively, simmer the fruit a bit longer to reduce excess liquid before adding chia.
- → How long does it keep and can I freeze it?
Stored in a clean jar in the fridge, it keeps about one week. For longer storage, freeze in small containers for up to 3 months; thaw in the fridge and stir before using.
- → What substitutions work well for this spread?
Swap raspberries for strawberries or blackberries, and use agave or coconut sugar in place of maple syrup. If keeping it vegan, choose plant-based sweeteners instead of honey.