 Save to Pinterest
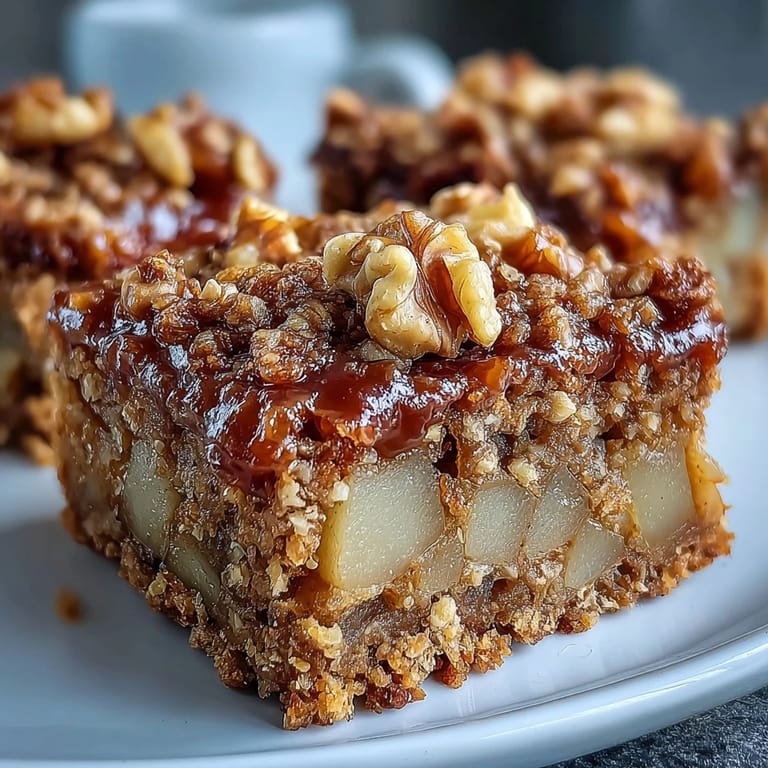
 The aroma of pears and maple swirling together still surprises me every time, especially when it happens on a rainy weekday morning. It’s funny how slicing into a ripe pear can instantly lift my mood—juicy and delicate, the flesh has a way of softening even the most rushed mornings. Once, I stumbled onto this recipe while craving something tender yet wholesome for my snack rotation. I love that these bars come together in less time than it takes to gather everyone for breakfast. Plus, the golden edges bubbling away in the oven always call people into the kitchen before I’ve even set out plates.
I first shared these breakfast bars with a friend during a chaotic brunch prep. We both ended up laughing while carefully dicing pears, dodging kitchen splashes, and sneaking bites of the crumbly edges before anyone else could claim them. Our coffee cooled while we chatted, but the bars vanished fast from the tray—proof that good food can slow down any busy moment.
Ingredients
- Rolled oats: They’re the backbone of the bars—choose old-fashioned oats for the best chewy texture.
- Whole wheat flour: Adds a wholesome flavor and a sturdy structure, though I learned to sift it first to keep the bars tender.
- Baking powder: Helps everything puff up gently, making the bars soft rather than dense.
- Cinnamon: Just a bit gives warmth, especially when paired with maple and pears.
- Salt: Balances the sweetness without overpowering the fruitiness.
- Pure maple syrup: Not just for sweetness, but for depth and a hint of complexity—use real maple for best results.
- Unsalted butter (or coconut oil): Melted, it ensures the bars stay moist; coconut oil is a lovely twist for dairy-free days.
- Unsweetened applesauce: This sneaky addition keeps everything soft without extra sugar.
- Large egg: Binds the ingredients and creates a light crumb—bring it to room temp for easier mixing.
- Vanilla extract: Rounds out the flavors and gives a bakery-style aroma.
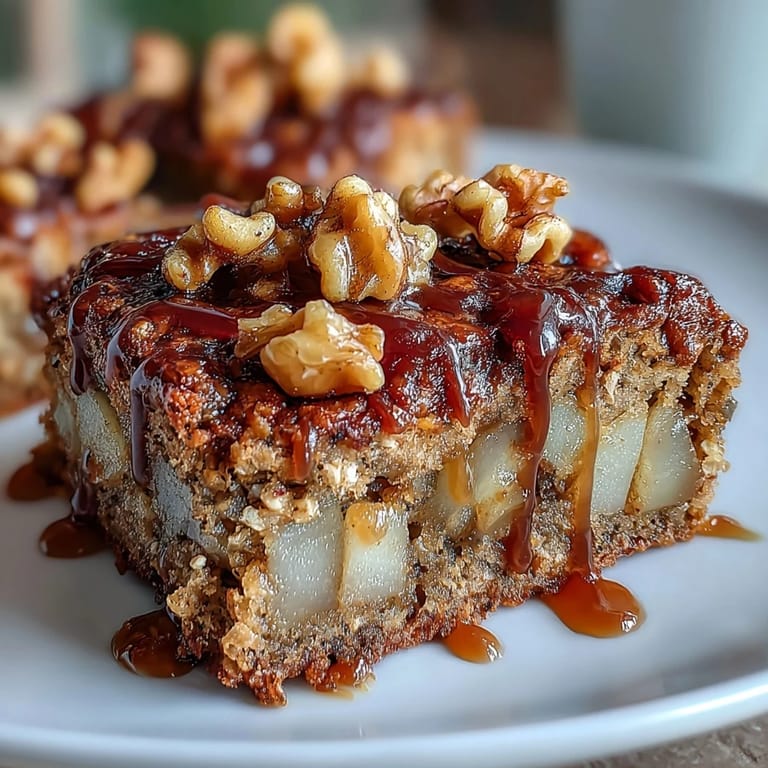
- Ripe pears: Their juiciness is essential—choose slightly soft pears for a sweet, succulent bite in every bar.
- Chopped walnuts or pecans (optional): They bring crunch but can be skipped if you want a nut-free treat.
Tired of Takeout? 🥡
Get 10 meals you can make faster than delivery arrives. Seriously.
One email. No spam. Unsubscribe anytime.
Instructions
- Get your pan ready:
- Line an 8x8-inch pan with parchment paper—trust me, it saves you the headache of sticky corners later.
- Combine the dry team:
- In a roomy bowl, mix together oats, whole wheat flour, baking powder, cinnamon, and salt until you see creamy flecks from the oats all around.
- Whisk the wet ingredients:
- Pour maple syrup, melted butter (or coconut oil), applesauce, egg, and vanilla into a second large bowl and whisk until it looks glossy and unified.
- Bring it all together:
- Slowly stir the wet mixture into the dry, using a spatula or sturdy spoon—don&apost overmix or the bars may lose their soft bite.
- Add pears and extras:
- Gently fold in diced pears and nuts, if you're using them, making sure every scoop has a little of everything.
- Spread and smooth:
- Scoop the batter into your lined pan and spread it evenly, pressing into corners with your spatula for uniform baking.
- Bake to golden perfection:
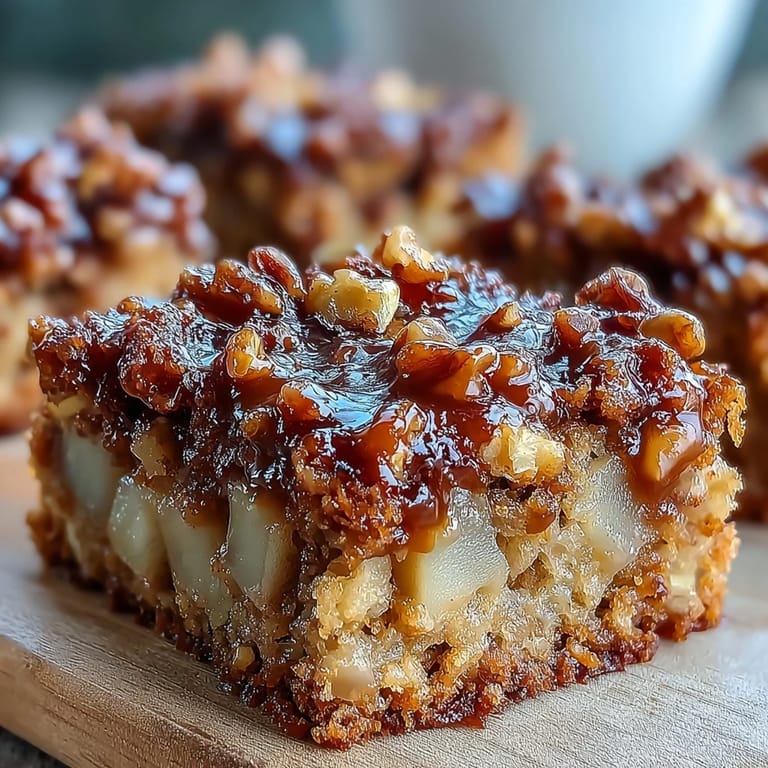
- Slide the pan into a 350°F (175°C) oven for 28-32 minutes, until the top is set and lightly golden—you should smell the maple and pears mingling.
- Cool and slice:
- Let the bars cool completely in the pan before using a sharp knife to cut them into 12 generous squares.
 Save to Pinterest
 One rainy afternoon, my partner arrived home while the bars were cooling and teased me about "waiting for breakfast at 4 pm"—but their smile after the first bite made it clear these bars are welcome at any hour.
Customizing Your Bars
I've played around with dried cranberries, a handful of chocolate chips, and even a sprinkle of orange zest—each tweak adds its own charm without overpowering the pear and maple. The base batter is forgiving, so don't hesitate to get creative with what's in your pantry. My kids once requested a swirl of almond butter on top before baking, and it's now a requested "special occasion" addition at our place.
Storing and Packing Tips
Once cooled, I stack the bars between parchment layers in a container—this keeps them soft for up to four days and prevents sticky edges. They also freeze beautifully: I wrap them individually so grabbing one for lunchboxes or hikes takes zero effort. When you rewarm a frozen bar, the way the maple aroma returns is surprisingly comforting.
A Few Troubleshooting Thoughts
If your pears seem super juicy, pat them dry before folding in so the bars don't get soggy. Swapping in all-purpose flour works in a pinch, though the texture will be a little lighter. And if you smell extra sweetness as they bake, it's usually the maple syrup caramelizing around the edges—those golden bits are my favorite part.
- Double check your oven temperature for even baking.
- Don't be shy about lining the pan—parchment paper really does help.
- Let bars cool all the way for clean, sturdy slices.
 Save to Pinterest
 I hope these pear maple breakfast bars add a warm, sweet start to your mornings—or whenever you need a cozy snack. Don't be surprised if they disappear as fast as they do in my kitchen!